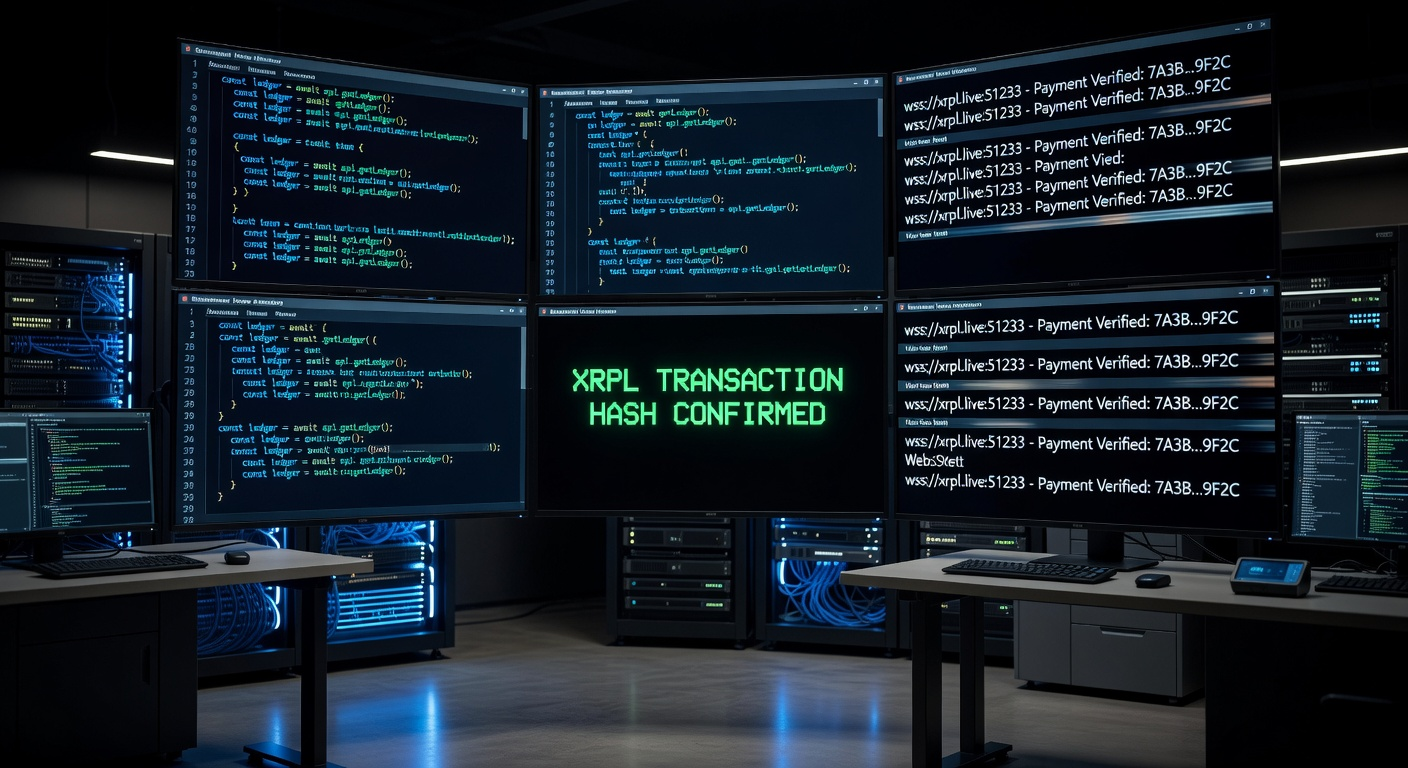
XRPL Payment Verification: Developer Guide to On-Chain Settlement Confirmation
XRPL's 3–5 second finality means payment confirmation is fast — but integrating reliable payment verification into a fintech application requires understanding destination tags, the JSON-RPC API, and how to handle edge cases like partial payments and failed transactions.
This article is for informational purposes only. Code examples are for educational purposes; test thoroughly before deploying to production.
WHY XRPL PAYMENT VERIFICATION IS DIFFERENT
In traditional payment systems, confirmation happens on the bank's schedule — ACH batches run twice daily, wires clear in hours, card authorizations are provisional pending settlement. An application receiving an "approved" response from a card network is receiving a promise, not a settlement.
On the XRP Ledger, ledger close happens every 3–5 seconds, and finality is deterministic. A transaction that is included in a closed ledger is settled. There are no reversals, no chargebacks, no settlement risk. This fundamentally changes how verification logic works.
The verification model is: watch the ledger for incoming transactions matching your criteria, then confirm they are final. You don't wait for a webhook from an intermediary — you query the canonical ledger state directly.
DESTINATION TAGS: THE CRITICAL FIRST STEP
Unlike bank accounts, XRPL wallets are single addresses. A payment processor receiving funds from thousands of customers cannot maintain a separate wallet per customer — transaction fees and operational overhead would be prohibitive. The solution is destination tags.
A destination tag is an unsigned 32-bit integer (0 to 4,294,967,295) attached to an XRP or IOU payment. It functions like a memo or reference number — the receiving wallet address is the same for all customers, but each customer is assigned a unique destination tag that routes the payment to the correct account in your internal system.
To enable RequireDestTag on your receiving wallet, submit an AccountSet transaction with the asfRequireDest flag. This is a one-time setup step.
METHOD 1: JSON-RPC POLLING (SIMPLE INTEGRATION)
The simplest integration pattern is periodic polling using the account_tx method. This works well for low-volume applications or batch reconciliation jobs.
Public XRPL RPC nodes (no API key required):
- Mainnet: https://xrplcluster.com
- Mainnet: https://s1.ripple.com:51234 (Ripple-operated)
- Testnet: https://s.altnet.rippletest.net:51234
Fetch recent transactions for a wallet:
{
  "method": "account_tx",
  "params": [{
    "account": "rYourWalletAddressHere",
    "ledger_index_min": -1,
    "ledger_index_max": -1,
    "limit": 20,
    "forward": false
  }]
}
The response includes a transactions array. Each transaction object has:
- tx.TransactionType: Should be "Payment"
- tx.Destination: Your wallet address
- tx.DestinationTag: The customer's assigned tag
- tx.Amount: In drops (XRP, 1 XRP = 1,000,000 drops) or an Amount object (for IOUs like RLUSD)
- meta.TransactionResult: Must be "tesSUCCESS" for a valid payment
- validated: Must be true — only validated (finalized) transactions are settled
Verification logic (pseudocode):
function verifyPayment(account, expectedTag, expectedAmount, currency) {
  const response = await xrplRpc("account_tx", { account, limit: 50 });

  for (const { tx, meta, validated } of response.transactions) {
    if (!validated) continue;                        // not yet final
    if (meta.TransactionResult !== "tesSUCCESS") continue; // failed tx
    if (tx.TransactionType !== "Payment") continue;
    if (tx.Destination !== account) continue;
    if (tx.DestinationTag !== expectedTag) continue;

    // Check amount
    if (currency === "XRP") {
      const receivedDrops = parseInt(meta.delivered_amount);
      const receivedXRP = receivedDrops / 1_000_000;
      if (receivedXRP >= expectedAmount) return { verified: true, txHash: tx.hash };
    } else {
      // IOU (RLUSD, USDC, etc.)
      const received = meta.delivered_amount; // { value, currency, issuer }
      if (received.currency === currency && parseFloat(received.value) >= expectedAmount) {
        return { verified: true, txHash: tx.hash };
      }
    }
  }
  return { verified: false };
}METHOD 2: WEBSOCKET SUBSCRIPTIONS (REAL-TIME)
For applications that need real-time payment notification — checkout flows, invoice completion, live settlement dashboards — WebSocket subscriptions are the production-grade approach. Instead of polling every N seconds, your server maintains a persistent WebSocket connection and receives push notifications when transactions affect your wallet.
Connect and subscribe:
const ws = new WebSocket("wss://xrplcluster.com");

ws.onopen = () => {
  ws.send(JSON.stringify({
    command: "subscribe",
    accounts: ["rYourWalletAddressHere"]
  }));
};

ws.onmessage = (event) => {
  const data = JSON.parse(event.data);

  if (data.type === "transaction" && data.validated) {
    const tx = data.transaction;
    const meta = data.meta;

    if (tx.TransactionType === "Payment" &&
        tx.Destination === "rYourWalletAddressHere" &&
        meta.TransactionResult === "tesSUCCESS") {
      handleIncomingPayment(tx, meta);
    }
  }
};
The WebSocket subscription delivers every transaction affecting your account in real time as ledgers close — typically within 4–6 seconds of the sender submitting their transaction. No polling interval, no missed payments during downtime.
Handling reconnection:
WebSocket connections can drop. Your server must implement reconnection logic with exponential backoff, and on reconnect, reconcile against the account_tx API to catch any transactions that arrived during the downtime window. A production payment system should treat the WebSocket as the real-time notification layer and the JSON-RPC API as the authoritative source of truth for reconciliation.
VERIFYING RLUSD AND IOU PAYMENTS
Verifying RLUSD (or any XRPL IOU) payments requires one additional check: the issuer address. On XRPL, any account can issue a token with any currency code — so receiving "USD" is meaningless without verifying the issuer is the authorized RLUSD issuer.
The RLUSD issuer addresses on XRPL mainnet:
- Primary issuer: rMxCKbEDwqr76QuheSUMdEGf4B9xJ8m5De
- Check the official Ripple documentation for current issuer addresses before deploying to production
IOU verification pattern:
function verifyRLUSDPayment(tx, meta, expectedTag, expectedAmount) {
  const delivered = meta.delivered_amount;

  if (typeof delivered !== "object") return false; // XRP payment, not IOU

  return (
    delivered.currency === "USD" &&
    delivered.issuer === RLUSD_ISSUER_ADDRESS &&
    parseFloat(delivered.value) >= expectedAmount &&
    tx.DestinationTag === expectedTag
  );
}
TRUST LINES: THE PREREQUISITE FOR IOU RECEIPT
Unlike XRP (which any address can receive by default), IOUs on XRPL require the receiving wallet to have an active trust line to the issuer. A trust line is an on-ledger record stating "I trust this issuer to owe me up to X units of currency Y."
If your merchant wallet doesn't have a RLUSD trust line, incoming RLUSD payments will fail with a tecNO_LINE or tecPATH_DRY error. Setup steps:
- Submit a TrustSet transaction from your merchant wallet to the RLUSD issuer address
- Set LimitAmount to a value sufficient for your expected volume (e.g., {"currency":"USD","issuer":"rMxCKbEDwqr76QuheSUMdEGf4B9xJ8m5De","value":"1000000"})
- The TrustSet transaction requires a small XRP reserve (0.2 XRP per trust line, part of XRPL's spam-prevention reserve system)
HANDLING EDGE CASES
| Scenario | What Happens | How to Handle |
|---|---|---|
| No destination tag included | Rejected if RequireDestTag is set; otherwise arrives untagged | Enable RequireDestTag; reject untagged deposits in your application logic |
| Wrong destination tag | Payment arrives at your wallet but tagged for unknown customer | Log and quarantine; contact sender for manual resolution |
| Partial payment flag set | Less than requested amount delivered | Use meta.delivered_amount; accept partial or refund depending on use case |
| Transaction fee not tesSUCCESS | Transaction failed; no funds moved | Filter for tesSUCCESS only; failed transactions still consume XRP fee |
| IOU from wrong issuer | Currency code matches but issuer is different | Always verify issuer address, not just currency code |
PRODUCTION CHECKLIST
Before going live with XRPL payment verification in a production system:
- ✅ Enable RequireDestTag on your receiving wallet
- ✅ Pre-configure trust lines for all IOU currencies you intend to accept
- ✅ Implement WebSocket subscription with JSON-RPC reconciliation fallback
- ✅ Always verify meta.delivered_amount, never tx.Amount alone
- ✅ Verify IOU issuer address, not just currency code
- ✅ Test partial payment scenarios on testnet before mainnet
- ✅ Implement idempotency: check transaction hash before crediting to prevent duplicate processing on reconnect
- ✅ Monitor wallet XRP balance — ensure minimum reserve is maintained (currently 1 XRP base reserve + 0.2 XRP per trust line and offer)
PUBLIC NODES VS. DEDICATED INFRASTRUCTURE
For low-volume development and testing, Ripple's public nodes and community nodes like xrplcluster.com are adequate. For production payment systems, consider:
- XRPL Foundation node infrastructure: More reliable uptime SLA than community nodes
- Self-hosted rippled: Full node running the rippled software — complete independence but operational overhead
- Third-party APIs: Services like XRPL.org's infrastructure, QuickNode, or Moralis offer XRPL RPC access with SLAs
For most fintech integrations processing under $1M/month, a reliable community node with a fallback is sufficient. Above that threshold, dedicated infrastructure is worth the investment for uptime guarantees.
Build Payment Integrations on XRPL
OnrampDLT provides APIs and tooling for developers building payment and token settlement applications on the XRP Ledger.
Explore OnrampDLT →